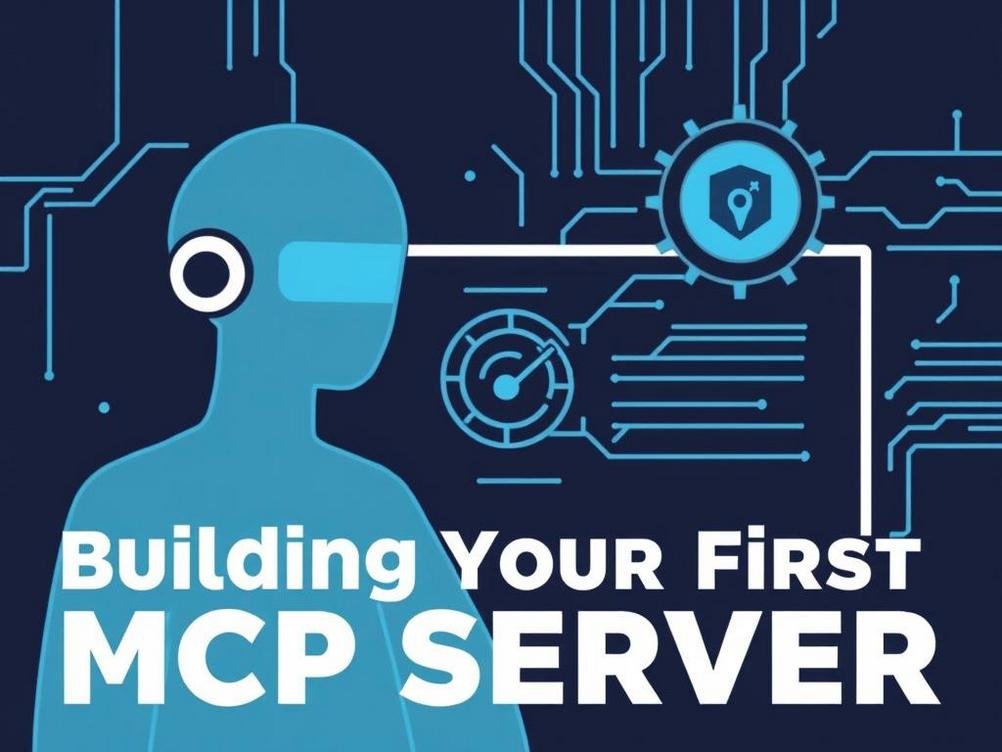
Building Your First MCP Server: Unlocking Custom Superpowers for Your AI Tools
Okay, picture this: You’re messing around with some fancy AI tool, like ChatGPT or one of those image generators, and suddenly you think, “Man, if only this thing could do X, Y, and Z tailored just for me.” We’ve all been there, right? That moment when off-the-shelf AI feels a bit like wearing someone else’s shoes—they kinda fit, but they’re not quite right. That’s where building your own MCP server comes in. What’s MCP, you ask? It’s my cheeky acronym for Modular Capability Platform, basically a custom server you set up to extend existing AI tools with your own hacks and features. Think of it as giving your AI a personalized upgrade, like adding turbo boosters to a standard car.
Back in the day, I remember tinkering with my first setup. I was trying to make an AI that could analyze my fantasy football league stats and spit out sarcastic trash talk for my buddies. The stock AI just gave bland responses, so I rolled up my sleeves and built a little server to inject some personality. It wasn’t perfect—heck, the first version crashed more than a bad driver on ice—but it opened up a world of possibilities. In this guide, we’ll walk through building your first MCP server step by step. No PhD required, just some curiosity and maybe a cup of coffee. By the end, you’ll be extending AI tools in ways that make them feel truly yours. Let’s dive in and turn that “what if” into “heck yeah!” We’re talking about real empowerment here, folks—making AI work for you, not the other way around. Stick around, because this could be the start of your mad scientist era in tech.
What Exactly is an MCP Server?
Alright, let’s break it down without the jargon overload. An MCP server, or Modular Capability Platform if we’re being formal (which we’re not), is essentially a homebrew server you create to act as a middleman between you and big AI services. It lets you add custom logic, filters, or even entirely new features to tools like OpenAI’s API or Google’s Bard. Imagine it as a bouncer at a club who not only checks IDs but also hands out custom cocktails based on your vibe.
Why call it MCP? Well, I made it up for this post because it sounds cool and memorable—Modular for plugging in bits and pieces, Capability for the powers you add, and Platform because it’s your base of operations. In reality, it’s often built with simple frameworks like Flask in Python or Express in Node.js. The beauty is its flexibility; you can host it locally on your machine or deploy it to the cloud for 24/7 access. No need for enterprise-level stuff—just your laptop and some free tools.
Think of real-world examples: Companies use similar setups to customize AI for specific business needs, like adding compliance checks to chatbots. For you, it could mean integrating your personal database or applying fun filters to AI outputs. It’s not rocket science, but it feels like it when you see your custom tweaks in action.
Why Should You Build One? The Real Perks
Building an MCP server isn’t just a geeky hobby; it’s a game-changer for anyone who’s ever felt limited by standard AI. For starters, it gives you privacy—your data stays on your server instead of floating off to some corporate cloud. Plus, it’s cost-effective; you can optimize calls to paid APIs, reducing those pesky token costs. And let’s not forget the fun factor: Customizing AI makes it feel like a sidekick rather than a stranger.
From a practical standpoint, statistics show that customized AI can boost productivity by up to 40%, according to a McKinsey report. I’ve seen it firsthand—my MCP setup saved me hours on content creation by automating repetitive tasks with a personal twist. It’s like having a clone that thinks just like you, minus the coffee addiction.
Oh, and the sense of accomplishment? Priceless. You’ll laugh at how simple it is once you’re done, wondering why you didn’t start sooner. Sure, there’s a learning curve, but it’s shallower than you think. If you’re into coding or even just curious, this is your ticket to leveling up your AI game.
Setting Up Your Environment: The Basics
First things first, you need the right tools. Start with installing Python if you don’t have it—head over to python.org and grab the latest version. It’s free and runs on pretty much anything. Next, you’ll want Flask, a lightweight web framework. Open your terminal and type pip install flask. Boom, you’re halfway there.
Don’t forget an API key from an AI provider. For OpenAI, sign up at platform.openai.com and snag one. If you’re going local, check out Ollama for running models on your machine—download it from ollama.ai. Set up a virtual environment to keep things tidy: python -m venv myenv and activate it. This prevents your projects from turning into a messy spaghetti code nightmare.
Pro tip: If you’re on Windows, use PowerShell; Mac or Linux folks, terminal is your friend. Test everything with a simple “Hello World” server. Run your script, visit localhost:5000 in your browser, and if it waves back, you’re golden. Easy peasy, right?
Writing Your First Custom Capability
Now for the fun part—adding that custom magic. Let’s say you want your AI to always respond with a joke at the end. In Flask, create a route that takes user input, sends it to the AI API, grabs the response, and appends a random pun. Use Python’s requests library for the API call: pip install requests.
Code it up like this: Import Flask and requests, set up your app, define a route with @app.route(‘/chat’). Inside, get the prompt from the query, call the AI, modify the output, and return it. It’s like baking a cake but with code—mix ingredients, bake, and enjoy. Test it locally, and watch your AI get a personality upgrade.
To make it more advanced, add parameters. Let users choose the “humor level” or integrate with other services. Remember, start small; my first capability was just adding emojis, but it sparked a ton of ideas. You’ll be surprised how quickly you can iterate.
Integrating with Popular AI Tools
Integration is where your MCP shines. For OpenAI, use their Python SDK: pip install openai. In your server code, import it, set your API key, and call models like GPT-4. Extend by pre-processing inputs—maybe translate to another language first using Google Translate API.
Want to hook up with Hugging Face? Their transformers library is a beast. Install it and run local models if your hardware can handle it. For a hybrid approach, have your server decide whether to use local or cloud AI based on complexity. It’s like having a smart router for your brainwaves.
Real-world example: I integrated mine with Twitter’s API to generate tweet ideas based on trending topics, customized to my sarcastic style. Tools like these make AI feel seamless. Just be mindful of rate limits and costs—your server can handle queuing if needed.
Troubleshooting: When Things Go Wonky
Murphy’s Law applies here: If it can break, it will. Common issues? API keys expiring—double-check them in your code. Server not starting? Port conflicts are sneaky; try changing from 5000 to 8000. And if your AI responses are gibberish, inspect the prompt formatting.
Debugging tip: Use print statements liberally, or better, logging with Python’s logging module. If you’re stuck, Stack Overflow is your best friend—search for errors verbatim. I once spent hours on a typo that was literally a missing comma. Laugh it off and learn.
For security, never hardcode sensitive info; use environment variables. And if deploying to the cloud (try Heroku or Vercel), watch for configuration pitfalls. Patience is key—most problems have simple fixes once you step back.
Advanced Tips to Level Up Your MCP
Once you’re comfortable, go wild. Add authentication with JWT for multi-user support. Or integrate databases like SQLite to store custom data. Want real power? Use Docker to containerize your server for easy deployment—install it from docker.com.
Experiment with webhooks for real-time updates, or chain multiple AI models for complex tasks. For instance, use one for text generation and another for sentiment analysis. Stats wise, advanced setups can handle thousands of requests per minute with proper scaling.
Don’t forget community resources: GitHub repos are goldmines for inspiration. Fork something, tweak it, and make it yours. The sky’s the limit—I’ve seen MCP-like servers powering everything from personal assistants to art generators. Get creative, and who knows what you’ll build next?
Conclusion
Wrapping this up, building your first MCP server is more than a tech project; it’s a step toward owning your AI experience. We’ve covered the basics from setup to advanced tweaks, and hopefully, you’re fired up to give it a shot. Remember, it’s okay to stumble—that’s how we learn. With custom capabilities, your AI tools become extensions of your creativity, not just black boxes.
So grab that keyboard, fire up your terminal, and start experimenting. Who knows, your MCP might just spark the next big idea. If you build something cool, share it in the comments—I’d love to hear about it. Here’s to making AI a little more human, one server at a time. Cheers!


Leave a Reply